Mattress cleaning often gets left off the home chores list, but it has a bigger impact than most people think. Studies show that washing your bedding above 60 degrees Celsius wipes out dust mites and bacteria that love to hide in your mattress. Most people worry about stains or the odd smell, but the real shock is that freshening up your mattress actually helps protect against allergies and improves your sleep. There is much more going on beneath the sheets than meets the eye.
Table of Contents
- Step 1: Gather Your Cleaning Supplies
- Step 2: Remove Bedding And Prepare Mattress
- Step 3: Vacuum The Mattress Thoroughly
- Step 4: Treat Stains With Appropriate Solutions
- Step 5: Freshen Up With Odour Absorbers
- Step 6: Allow To Dry And Inspect For Cleanliness
Quick Summary
| Key Point | Explanation |
|---|---|
| 1. Gather Essential Cleaning Supplies | Assemble vinegar, baking soda, and microfiber cloths to effectively clean your mattress without harsh chemicals. |
| 2. Properly Remove Bedding First | Strip your bed and wash all linens with hot water above 60 degrees Celsius to eliminate dust mites and allergens. |
| 3. Thoroughly Vacuum the Mattress | Use a clean upholstery attachment to remove dust and debris, focusing on seams and edges for a complete clean. |
| 4. Treat Stains with Care | Use appropriate cleaning solutions specific to stain types; always test on an inconspicuous area first to avoid damage. |
| 5. Freshen with Baking Soda | Sprinkle baking soda on the mattress to neutralise odours; leave for hours before vacuuming for best results. |
Step 1: Gather Your Cleaning Supplies
Before diving into the mattress cleaning process, having the right tools and supplies is crucial for achieving professional-level results. A well-prepared cleaning kit ensures you can tackle dirt, stains, and odours effectively without damaging your sleep surface. While many people underestimate the importance of proper preparation, selecting the correct cleaning materials can make a significant difference in your mattress maintenance routine.
To begin, assemble a comprehensive cleaning arsenal that includes several key items. Essential cleaning supplies for your DIY mattress refresh include white vinegar, baking soda, hydrogen peroxide, clean microfiber cloths, a spray bottle, and a vacuum cleaner with an upholstery attachment. These versatile ingredients work together to neutralise odours, break down stains, and sanitise your mattress without using harsh chemical cleaners.
While gathering your supplies, pay special attention to the quality and condition of your cleaning tools. Your vacuum cleaner’s upholstery attachment should be clean and free from debris to prevent transferring additional dirt onto the mattress surface. Microfiber cloths are preferable to regular towels because they effectively trap dust and microparticles without leaving lint or residue behind. Learn more about proper bedding care to complement your mattress cleaning efforts.
Pro tip: Before starting, check the manufacturer’s cleaning instructions for your specific mattress type. Some materials like memory foam or latex require gentler cleaning approaches compared to traditional spring mattresses. Having this information beforehand prevents potential damage and ensures you use appropriate cleaning techniques tailored to your mattress’s unique composition.
A strategic approach to supply gathering includes organizing your items within easy reach before beginning the cleaning process. Lay out your cleaning materials on a nearby surface, ensuring you have everything needed to complete the task efficiently. This preparation minimizes disruptions and allows you to move systematically through each cleaning stage, creating a smooth and effective mattress refreshing experience.
Step 2: Remove Bedding and Prepare Mattress
Stripping your bed and preparing the mattress for deep cleaning requires a systematic approach that ensures thorough sanitisation and prevents potential damage. This critical step sets the foundation for a successful mattress refresh, allowing you to access every surface and address hidden dirt and allergen accumulation. Learn more about comprehensive mattress maintenance to understand the importance of each cleaning stage.
Begin by completely removing all bedding, including sheets, pillowcases, mattress protector, and any additional layers. Separate these items for immediate laundering using hot water and a strong detergent. Hot water washing at temperatures above 60 degrees Celsius effectively eliminates dust mites, bacteria, and potential allergens that might have transferred from your mattress to the linens. While your bedding goes through the wash cycle, you can focus your attention on preparing the mattress surface.
Carefully move your mattress to a clean, well-ventilated area with sufficient space to work around all sides. If possible, position the mattress on a clean floor or large, washable surface that can handle potential moisture or cleaning solutions. This positioning allows you to inspect the entire surface thoroughly and ensures you can access every section during the cleaning process. Pay special attention to seams, edges, and corners where dust and debris tend to accumulate unnoticed.
Before applying any cleaning solution, use your vacuum cleaner’s upholstery attachment to remove loose dust, dead skin cells, and surface debris. Work methodically across the entire mattress, using slow, overlapping strokes to capture maximum particles. Focus extra attention on seams and crevices, tilting the mattress if necessary to reach typically overlooked areas. This initial vacuuming step prevents dirt from turning into mud when liquid cleaning solutions are applied, making your subsequent cleaning efforts more effective and efficient.
Verify your preparation is complete by ensuring the mattress is completely bare, positioned in a clean area, and thoroughly vacuumed. A successful preparation stage means you have removed all external coverings, isolated potential contaminants, and created an optimal workspace for comprehensive mattress cleaning.
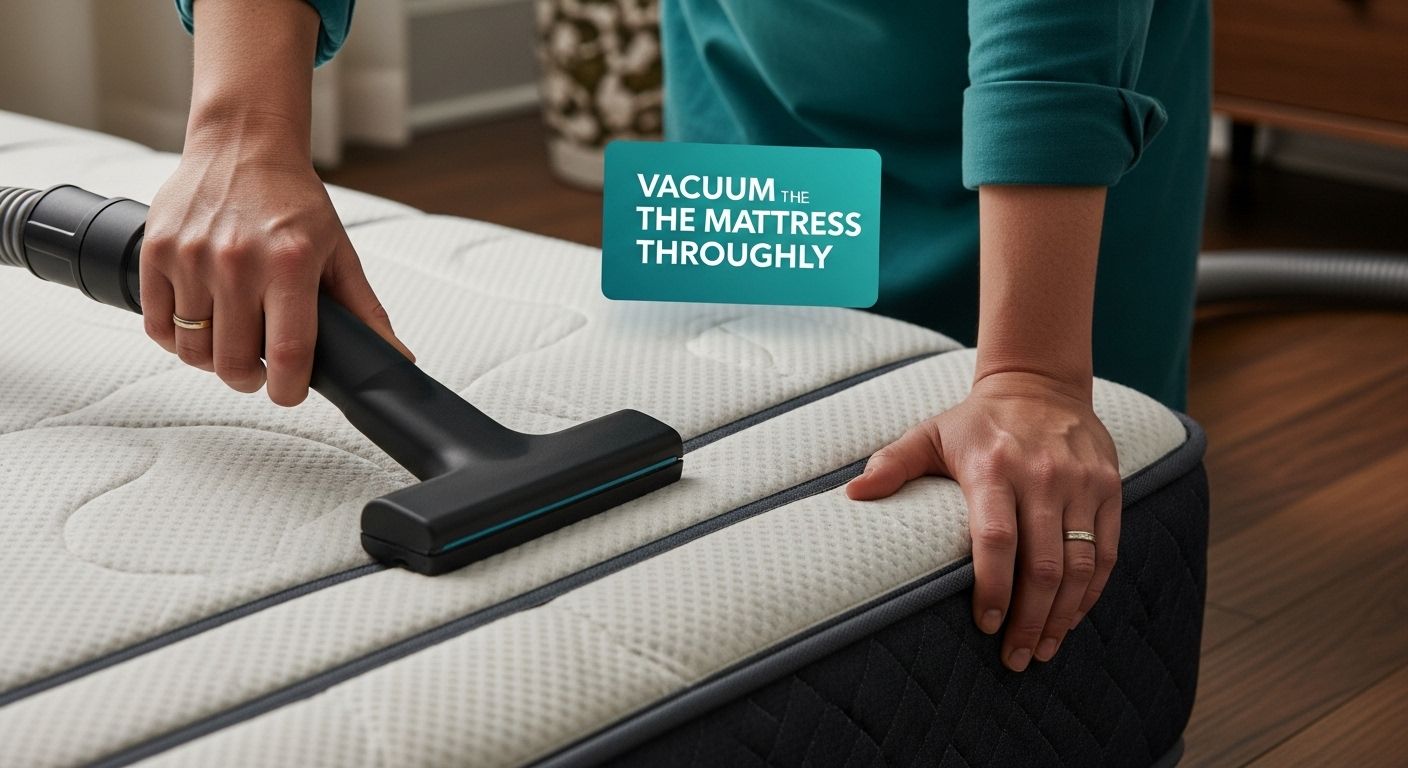
Step 3: Vacuum the Mattress Thoroughly
Vacuuming represents the foundational deep-cleaning stage that removes accumulated dust, dead skin cells, and microscopic debris before applying any liquid cleaning solutions. This critical step prevents potential dirt migration and prepares your mattress surface for more intensive sanitisation techniques. Discover essential mattress maintenance tips to complement your cleaning process.
Clean vacuum attachments are non-negotiable when addressing mattress hygiene. Begin by thoroughly examining and cleaning your upholstery attachment, ensuring no residual dirt could potentially transfer onto the mattress surface. Use a fresh microfiber cloth to wipe down the attachment, removing any accumulated dust or debris that might have collected during previous cleaning sessions. Select a vacuum with strong suction power and multiple attachment options to navigate different mattress textures and hard-to-reach areas effectively.
Approach the vacuuming process systematically by dividing your mattress into imaginary quadrants. Start at one edge and move methodically across the surface using slow, overlapping strokes that ensure comprehensive coverage. Pay extra attention to seams, edges, and corners where dust and microscopic particles tend to accumulate. Tilt and slightly rotate the mattress if necessary to access typically overlooked areas, such as side panels and beneath surface indentations. Use gentle but firm pressure to maximize particle extraction without damaging the mattress fabric.
For mattresses with textured surfaces or specific material compositions like memory foam or latex, adjust your technique accordingly. Use lighter suction and shorter, more controlled strokes to prevent potential fabric damage. Some specialized mattress types require gentler cleaning approaches, so always consult manufacturer guidelines if you remain uncertain about your specific mattress material.
To verify thorough cleaning, run your hand lightly across the mattress surface after vacuuming. The area should feel noticeably cleaner, with no visible dust or loose particles.
 A successful vacuuming session transforms your mattress from a potential allergen reservoir to a clean foundation ready for deeper sanitisation techniques. The goal is not just surface cleaning but comprehensive particle removal that promotes a healthier sleep environment.
Step 4: Treat Stains with Appropriate Solutions
Stain removal represents the most nuanced stage of mattress cleaning, requiring strategic approaches tailored to specific types of marks and mattress materials. Different stains demand unique treatment methods, and applying the wrong solution could potentially damage your mattress permanently. Explore professional mattress care techniques to understand comprehensive cleaning strategies.
Protein-based stains like blood, sweat, or bodily fluids require a different approach compared to organic or oil-based marks. Create a specialized cleaning solution by mixing hydrogen peroxide with a small amount of liquid dish soap. Apply the mixture sparingly using a clean white cloth, working from the stain’s outer edges toward the center to prevent spreading. Blot the area gently rather than rubbing, which could drive the stain deeper into the mattress fibers. Always test any cleaning solution on a small, inconspicuous area first to ensure it does not discolor or damage the mattress material.
For water-soluble stains such as urine or wine, white vinegar becomes your primary cleaning ally. Mix equal parts white vinegar and cold water in a spray bottle, creating a gentle yet effective cleaning solution. Spray the mixture lightly onto the stained area, allowing it to sit for approximately 5-10 minutes. Use a clean microfiber cloth to blot the area, working systematically to lift the stain without saturating the mattress. Moisture control is critical to prevent mold or mildew growth, so ensure you remove as much liquid as possible during the cleaning process.
Certain stains might require more specialized approaches depending on your mattress type. Memory foam and latex mattresses, for instance, are more sensitive to liquid absorption and require extra caution. Use minimal moisture and focus on spot cleaning techniques that preserve the mattress’s structural integrity. After treating any stain, allow the mattress to air dry completely in a well-ventilated area, preferably with indirect sunlight or a fan to expedite the drying process.
To verify successful stain removal, inspect the treated area once it has completely dried. The spot should appear clean, with no residual discoloration or visible mark. A successful treatment means the stain has been effectively neutralized without compromising the mattress’s appearance or structural composition.
Step 5: Freshen Up with Odour Absorbers
The final transformative stage of mattress cleaning involves neutralising lingering odours and creating a fresh sleep environment that promotes relaxation and hygiene. Odour absorption goes beyond simply masking smells, instead targeting the molecular sources of unpleasant scents that can accumulate in mattress fibers over time. Check out our comprehensive mattress maintenance guide to understand long-term care strategies.
Baking soda emerges as the most versatile and effective natural odour neutraliser for mattress cleaning. Generously sprinkle a thick, even layer across the entire mattress surface, ensuring complete coverage from edge to edge. The fine powder works by chemically neutralising odour molecules rather than just concealing them. Allow the baking soda to sit undisturbed for a minimum of 4-6 hours, though overnight treatment provides the most comprehensive results. During this time, the powder will absorb moisture, trap odour-causing particles, and gradually eliminate unwanted scents.
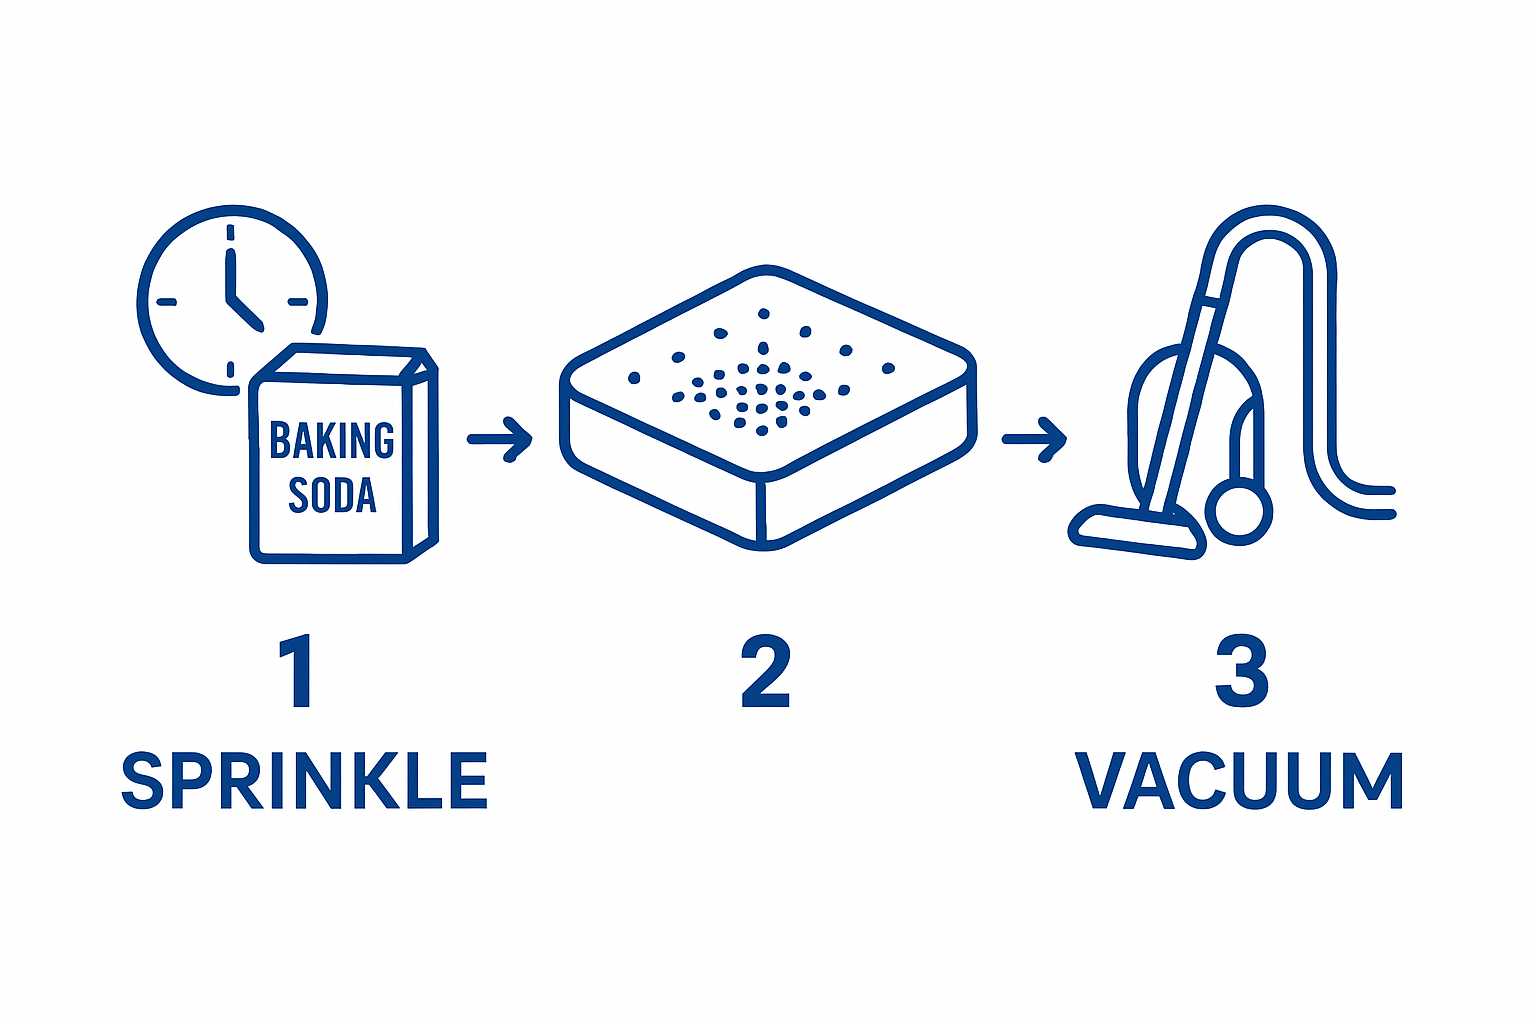
After the waiting period, use your vacuum cleaner’s upholstery attachment to thoroughly remove the baking soda. Work methodically across the mattress surface, using slow, overlapping strokes to ensure complete powder extraction. Pay special attention to seams and crevices where baking soda might accumulate. For mattresses with persistent or challenging odours, consider creating a specialized mixture by combining baking soda with a few drops of essential oils like lavender or tea tree, which offer additional antimicrobial properties and provide a pleasant, natural fragrance.
Ventilation plays a crucial role in the final freshening stage. Position your mattress in a well-lit, airy space with indirect sunlight if possible. Sunlight acts as a natural disinfectant, helping to further eliminate any remaining bacteria or moisture. Open windows to promote air circulation, allowing fresh air to permeate the mattress fibers and complete the cleaning process. This final step ensures your mattress not only looks clean but feels and smells refreshed.
To verify successful odour elimination, perform a simple smell test once the mattress has completely dried. The surface should smell neutral, without any lingering musty or stale odours. A properly treated mattress will feel crisp, clean, and inviting, transforming your sleep environment into a truly refreshing sanctuary.
Step 6: Allow to Dry and Inspect for Cleanliness
The final stage of mattress cleaning demands patience and meticulous attention to detail, transforming your cleaning efforts into a truly refreshed sleep surface. Proper drying and comprehensive inspection ensure that your mattress is not just clean, but completely restored to optimal condition. Learn about extended mattress care techniques to maintain your mattress beyond this cleaning process.
Proper ventilation is the cornerstone of effective mattress drying, requiring strategic positioning and environmental control. Position your mattress in a well-ventilated area with indirect sunlight, avoiding direct heat sources that could potentially damage mattress materials. Open windows to create cross-ventilation, allowing moisture to evaporate naturally. If indoor drying proves challenging, consider using a fan positioned at a moderate distance to circulate air without directly blowing onto the mattress surface. The goal is to create an environment that promotes even, gradual drying without introducing additional moisture or potential mold risks.
Inspection requires a systematic and thorough approach. Begin by visually examining the entire mattress surface under good lighting conditions, checking for any remaining stains, moisture spots, or areas that might require additional attention. Run your hand gently across the surface, feeling for any unusual textures or dampness that might indicate incomplete cleaning or potential moisture retention. Pay special attention to seams, corners, and areas previously treated with cleaning solutions. A completely dry mattress should feel uniformly firm and show no signs of discoloration or residual moisture.
Beyond visual and tactile inspection, consider the olfactory evidence of your cleaning efforts. A freshly cleaned mattress should emit a neutral, clean scent without any lingering chemical odours or musty undertones. If any unusual smells persist, this might indicate incomplete drying or the need for additional cleaning. Allow the mattress to continue air-drying if any dampness remains, potentially repeating the baking soda absorption technique to eliminate residual moisture and odours.
To verify successful cleaning and drying, perform a final comprehensive check. The mattress should be completely dry to the touch, free from visible stains, emit a neutral scent, and feel uniformly comfortable. Only when you are entirely confident in its cleanliness and dryness should you return bedding and prepare the mattress for use, ensuring a truly refreshed sleep surface.
Below is a checklist table to help you verify that your mattress is properly cleaned, dried, and ready for use after the DIY cleaning process.
| Verification Step | How to Check | What to Look For |
|---|---|---|
| Fully dry mattress | Feel the surface with your hand | No dampness or cool spots |
| No visible stains or marks | Inspect surface under good lighting | Uniform look, no discoloration |
| Neutral, fresh scent | Perform a smell test after drying | No musty or chemical odour |
| Even, firm texture | Run hand gently across the mattress surface | No soft or unusually spongy patches |
| Edges and seams checked | Examine along all seams and corners | No trapped moisture or stains |
| No residue from cleaning solutions | Wipe with a clean, dry cloth | No sticky or soapy feel |
| Fresh bedding only | Place only freshly laundered bedding on the mattress | Bedding smells clean, no allergens |
Ready for a Truly Fresh Mattress? Protect Your Hard Work
You followed every DIY mattress cleaning step to remove stains, banish odours, and restore comfort. But after all that effort, how do you keep your mattress feeling spotless for longer? Everyday spills, dust, and allergens easily undo your cleaning routine. The solution is simple. Invest in a quality mattress protector designed to shield your bed and save you from frequent deep cleans.

Do not let hidden grime undo your hard work. Choose a trusted mattress protector from Comfy Beds for ongoing peace of mind. Shop our full range of mattresses or visit Comfy Beds today. Protect your investment and enjoy a cleaner, healthier night’s sleep. Take action now and turn your refreshed mattress into a sanctuary that stays cleaner for longer.
Frequently Asked Questions
How often should I clean my mattress?
It’s recommended to clean your mattress at least twice a year to remove dust, allergens, and stains, ensuring a healthy sleep environment.
Can I use bleach to clean my mattress?
It’s best to avoid bleach as it can damage mattress materials. Instead, opt for natural cleaners like white vinegar or a hydrogen peroxide solution for safe and effective cleaning.
How do I tackle tough stains on my mattress?
For tough stains, identify the stain type and use appropriate solutions. For example, protein-based stains can be treated with a dilution of hydrogen peroxide and dish soap, while water-soluble stains like urine may require a vinegar and water solution.
What is the best way to freshen up my mattress?
A great method to freshen your mattress is to sprinkle baking soda over its surface, let it sit for several hours, and then vacuum it up. This neutralizes odours and absorbs moisture.
